
Develop and deploy an integration to your computer.
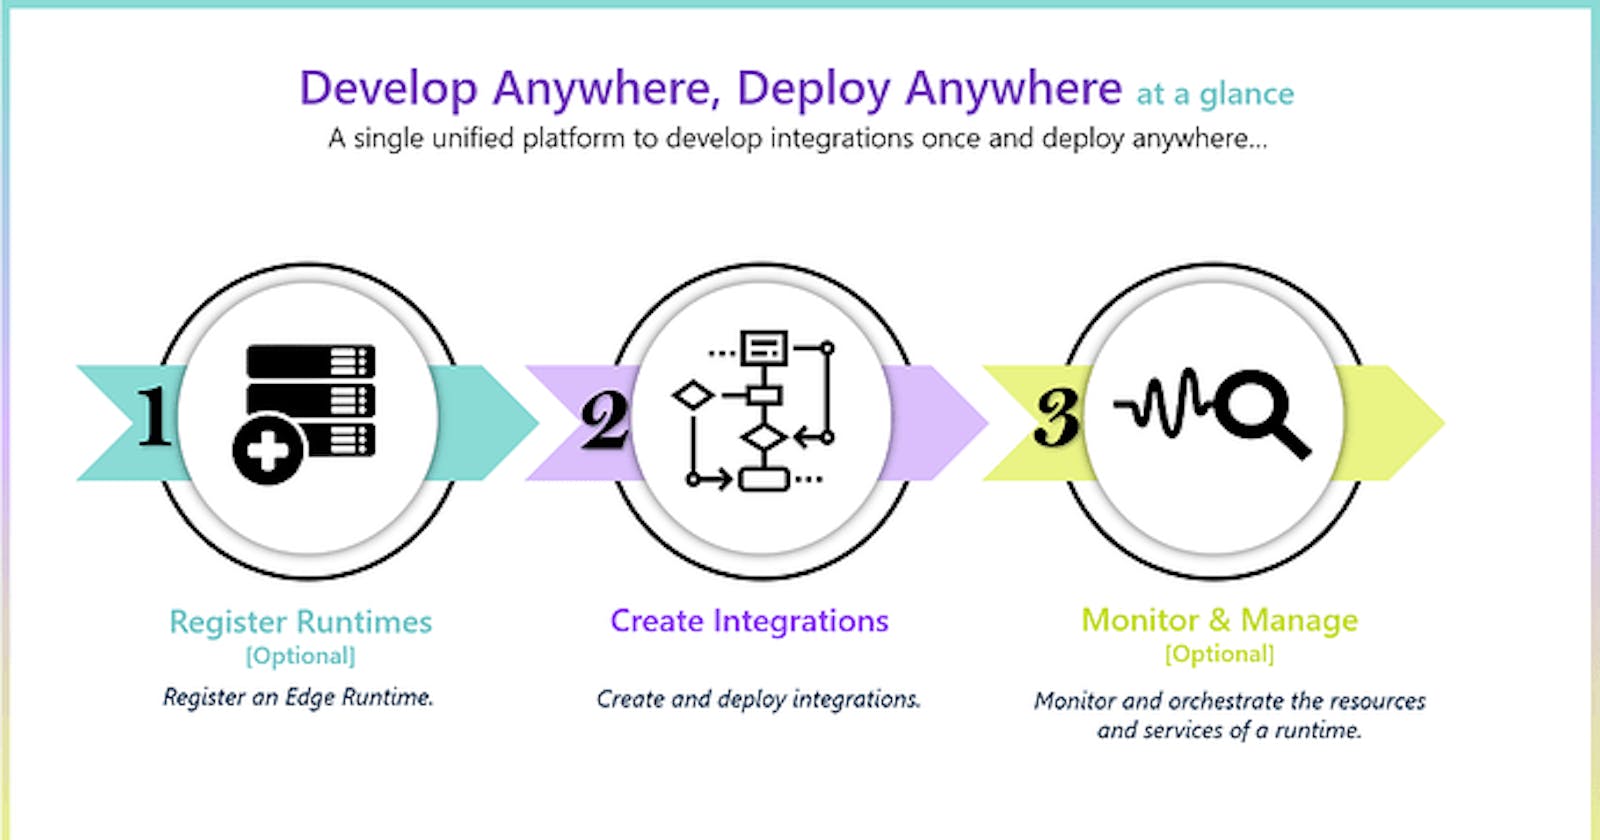
Develop anywhere, Deploy anywhere allows you to develop an integration using our web tooling as part of webMethods.io but you can then run it any where you want, be it in your cloud tenant, private cloud or on-premise data centre. You can also combine it with webMethods packages that you have developed previously with Service Designer and then test it on your local computer without having to install any developer tools locally. All you need to do is spin up a container locally, register it with your webMethod.io tenant and then develop and deploy your integration.

Being able to deploy and run on your local computer can be really useful to allow you to connect applications running in your private network that you would not be able to access from the cloud. That allows you as a develop to rapidly test out new integration patterns to combine cloud and local resources without having to install and configure anything locally.
Case study.
In this example we will develop an integration in webMethods.io that will then be deployed to your computer so that it will be able to interact with a database running in your local environment.

Pre-requisites.
You will need to have all the following in place if you want to be able implement the case study describe below;
A webMehods.io tenant with enterprise + enabled.
Access to container.softwareag.com i.e. you need to have valid empower credentials.
Docker desktop or Rancher desktop running locally so the edge runtime container can be spun up.
A MySQL database running on your local computer or accessible via the local network.
Registering your edge runtime.
First things first, let’s get your edge runtime up and running on your local computer. Remember you will need to ensure that you have a container runtime installed locally. We have tested both Docker Desktop and Rancher desktop, but any OCI compliant container runtime should work. However, be careful using Docker desktop in a work setting as it has licensing restrictions in place.
To spin up a container you need to register a runtime in your webMethods.io tenant, the full process is documented in our document here. To begin you need to go the the Integration runtimes tab in your webMethods.io tenant. If you don’t see that tab then you will need to contact your Customer Success Manager (CSM) at Software AG to see how you can it enabled.

Click on the (+) button and register the runtime with the name “UC_1_runtime”, click on pairing to retrieve the docker command to startup your runtime and paste it into the command line, here’s a screenshot of mine

In my example I have changed the public admin port to 4444 to avoid clashing with my local Integration Server and removed the -d option so that I can see all output directly on the console. The token itself ensures that the runtime can connect to your webMethods.io tenant securely. The token provided in the command is only valid for 15 minutes, is only valid for pairing and can only be used once and that’s why I’m not worried about showing it here

You may well say, “what about running a production container or set of containers ?”. It is not reasonable to expect someone to login and generate a pairing token each time and of course this isn’t required, an administrator has the option of generating a long term pairing token but that will be discussed in a future article.
Spinning up a local MySQL database.
Now that you have an edge runtime running locally, we need to finish up the on premise configuration. Our use case requires that you have a MySQL database running locally either directly on your computer or within the local nework. Here, I’m assuming that we will run it as a container alongside your edge runtime.
docker run -it -p 3306:3306 -v mysqldb:/var/lib/mysql -e MYSQL_ROOT_PASSWORD=manage mysql:8.0.29
Exposing the port via -p ensure that the two containers can talk via host.docker.internal without worrying about setting up a virtual network between them. This is fine for our demo purposes, but not recommended in a production environment. However, this would go beyond the remit of this article and so will skip it here.
Creating a webMethods.io project.
So we have everything running on our local computer, let’s now build an integration in webMethods.io Integration to take advantage of them. In your webMethods.io tenant select the tab projects and create a new project for your Integration called “UC_1_Project”. You will note you can now use your own git repository to manage the project source code, but we will ignore that for now and just use the default version control provided by the tenant.
Building a Deploy anywhere flow service to query your database.
Let’s now create our first proper integration that can be deployed locally on your computer and make of your database. We will create 3 deploy anywhere services;
createTable - This will create the database table and will be used only once at setup.
logGreeting - This service will take the name of somebody and insert into the database table.
getLatestGreetings - Return a list of all the latest greetings that have been inserted.
You could package the above services into an API that could be then shared with external clients, combing the security of prefacing all access with webMethods.io Integration and potentially API Management, whilst enabling access to private resources inside your network. The connectivity between the two is through our patented hybrid connectivity that supports 2 way TLS and requires no inbound connection to your network. As you saw above it is the edge runtime that connects to your cloud tenant and not the other way round.
NOTE - Deploy anywhere flow services are different from the flow services that run only in your cloud as they have fewer security constraints than the typical cloud flow services; this is because they either run in a dedicated edge runtime in your infrastructure or in an isolated network spoke if running in ours. In either case the runtime cannot harm, access or take over any of our resources. Why have we not just replaced the existing flow services with the new Deploy anywhere ? For now we do not have the same level of support for all our connectors, especially cloud based connectors and so we allow you to create cloud focused flow services along side deploy anywhere services that do not.
createTable
Go to the Integrations tab and click on the (+) button. From the wizard select a “Deploy anywhere” flow service and click next. Name your service “createTable” and select your runtime from the pulldown menu so that you can deploy/test your service easily against the runtime we started on your computer before. From the editor select the database connector option by typing or choosing e.g.

You will then need to create your first connector action by clicking “Add custom option” at the bottom of the list. Name it ‘createTableAction’ in the ensuing modal.
Create your database connection alias
An action requires an associated connection, which you will now need to create, click on the [+] button in the account selector in order to create the connection to your database. Name it ‘UC1_DB’ and then fill out the following details
Database: MySQL
Server name: host.docker.internal
User: root
Password: manage
Database name: sys
Port number: 3306

You will need to create a driver group that references the database drivers as we cannot provide these drivers ourselves. They are licensed and provided directly by the database provider. You can find the MySQL drivers here, but make sure to choose 8.0.23 and platform independent from the list boxes.

Now click Next to deploy and test the connection on your edge runtime. After a brief pause it will ask you to confirm enabling the connection on your runtime
Complete the database action
After the connection has been enabled the view will return to your action template and you will see your new connection referenced in the account box. Now that you have a valid connection you can click on the next button to start defining your database action.
The first step is to select the action template, choose “Custom SQL” and click next. Paste the following SQL into the text box
CREATE TABLE JC_CUSTOM_LOG (
ID INT PRIMARY KEY AUTO_INCREMENT,
OWNER VARCHAR(255),
MESSAGE VARCHAR(1024) NOT NULL
)

Click next through the rest of the screens and complete your action by clicking the ‘done’ at the end. Your action is now complete and can be used from any deploy anywhere service in the same project.
Save your service, and the click on the sync button to deploy your project fully to your edge runtime. Once synced you can then click on the run button and test the service. The first time it should complete with success, run it a second time and it will fail. This is because the table now exists and so the service fails because it can’t create the same table twice.
Develop the logGreeting service
The next service to develop is the service that will insert a new entry into your table that you successfully created in the last step.
Click one the + button in the flow services view and select again a Deploy Anywhere service. Name it logGreeting and a String input ‘name’.

Add a step for debugLog and map the name using variable substitution as below.

Now add a second operation and this again we will use our database wizard as before so type data and select database connector option. Click on “Add custom option”, but this time you do not need to create a new account, we can reuse the one that we created when building createTable service before. After selecting the account, select the insert template from the list of templates.
Then select the table DADA_USECASE1_LOG from the schema browser, then click next again and add two rows for the columns, namely OWNER and MESSAGE. We don’t need to input the ID as it will get auto-populated when inserting.
We aren’t interested in any output, so click next through the following steps and then complete the action. Now you can map your pipeline to the inputs via the map icon. Simply map the message from before to the MESSAGE input and map name to the OWNER input.
You can now sync and run your service as we did before to check if it works. Check the databased via a SQL client or if you want extra browny points repeat what we did to build the getLatestGreetings service.
Using a workflow to orchestrate your integration.
So far you have executed your services on runtimes by simply selecting the runtime within the flow editor. However, this does not dictate that these services have to run on these runtimes and in fact the service is synced with indicated runtime from your source each time you select the sync button.
Instead you can decide where to run these services as part of the orchestration. You use a workflow to orchestrate your workflow. In your project under integration click on the Workflows link and create a new empty workflow, given it a name and then select your flow service ‘logGreeting’ from right side palette as below.

Click on the cog icon over the logGreeting step and select the runtime where you want to run the service, for simplicity select the runtime that you registered before. Then click next and map the input and outputs as you would with any workflow step.
On the testing screen it will indicate whether the selected runtime is sync with the latest changes and provides you with a handy sync button to sync any changes to the runtime if required.
The workflow allows you to build a complex hybrid integration that can call services in different regions, across hyperscalers and in your own data centres, easily and securely from a single integration.
Where to go from here.
Deploy anywhere - Build a readymade image for your edge runtime container - We don’t recommend that you use dynamic syncing in production but instead build a readymade image with all packages and configuration baked in.
Develop anywhere - A practical guide to using packages with webMethods.io - You can now bring your webMethods packages that you built in the past and import them directly into a webMethods.io project and then redeploy them as part of your hybrid integration
Helm Charts: Deploying webMethods Components in Kubernetes - Run your edge containers easily in Kubernetes platform with our out of the box helm charts