Automate Pivotal Tracker stories and Trello cards with webMethods.io Integration

Discover, Share, and Collaborate with the Software AG Tech Community
The Software AG Tech Community is your single best source for expert insights, getting the latest product updates, demos, trial downloads, documentation, code samples, videos and topical articles.
But even more important, this community is tailored to meet your needs to improve productivity, accelerate development, solve problems, and achieve your goals.
Join our dynamic group of users who rely on Software AG solutions every day, follow the link or you can even sign up and get access to Software AG's Developer Community.
Thanks for stopping by, we hope to meet you soon.
Overview
Dive into the step-by-step tutorial of building automated project management processes and seamlessly synchronize your Pivotal Tracker stories with Trello cards using webMethods.io Integration!
Prerequisite:
- webMethods.io Integration tenant – sign up here for a free trial if you’re new (use the advanced form for more options).
- Pivotal tracker account
- Trello account
Login to your webMethods.io Integration tenant, create a new project or choose an existing one and create a blank workflow. If you need a refresher on how to get to this point, this guide can be a great introduction.
Create Trello cards from new Pivotal Tracker stories
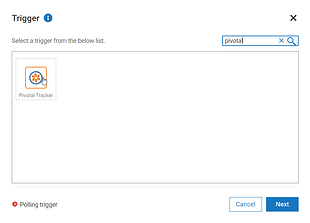
- Click on the small setting icon on the Start step and choose the Pivotal Tracker trigger.
 Select New story as a trigger and complete the authorization – connect webMethods.io Integration with your Pivotal Tracker account and chose the project ID.
Click Save. You should see the test trigger window.
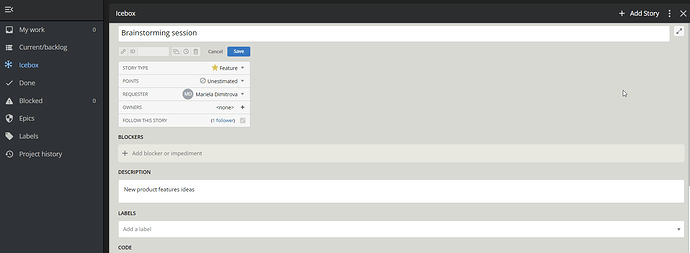
To test your trigger, you need to perform the trigger action. Open your Pivotal Tracker project page and add a new story:
Select New story as a trigger and complete the authorization – connect webMethods.io Integration with your Pivotal Tracker account and chose the project ID.
Click Save. You should see the test trigger window.
To test your trigger, you need to perform the trigger action. Open your Pivotal Tracker project page and add a new story:
 Go back to the webMethods.io Integration workflow and click Test. You should see the output data (the story information) from the trigger which webMethods.io Integration will use to configure and test the rest of the workflow. Click Done.
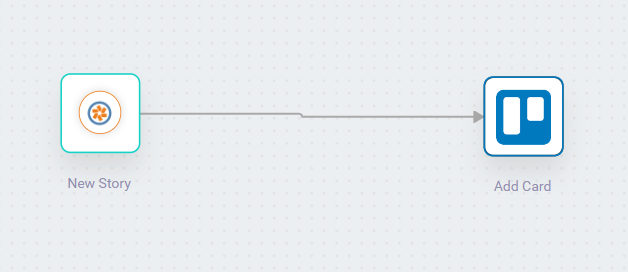
 - Search for the Trello connector and add it to the canvas with the drag and drop feature. This automatically connects with the trigger action.
 Click on the small settings icon on the Trello connector, select Add card as action and complete the authorization – connect webMethods.io Integration with your Trello account.
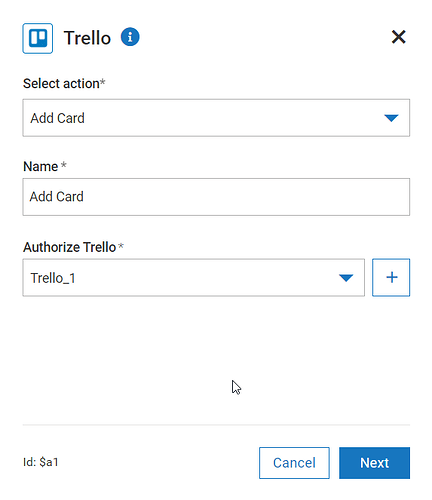 Click Next.
Now you can proceed with the action configuration – use the Incoming data panel to include story information received from the trigger output – drag and drop the story name in the Card name field, choose Board and List ID and fill out the Description field:
Click Next.
Now you can proceed with the action configuration – use the Incoming data panel to include story information received from the trigger output – drag and drop the story name in the Card name field, choose Board and List ID and fill out the Description field:
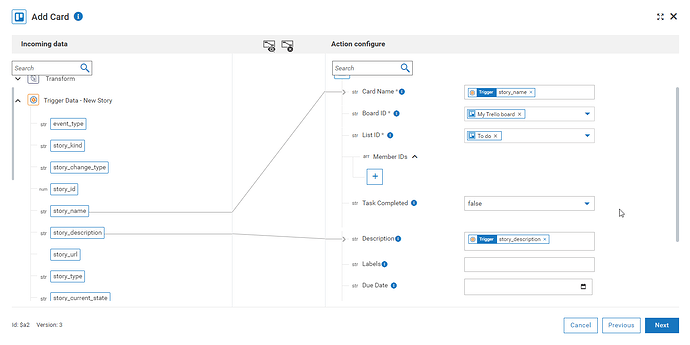 Click Next and then Done.
 - Connect the Trello connector to the Stop step. Don’t forget to save your workflow.
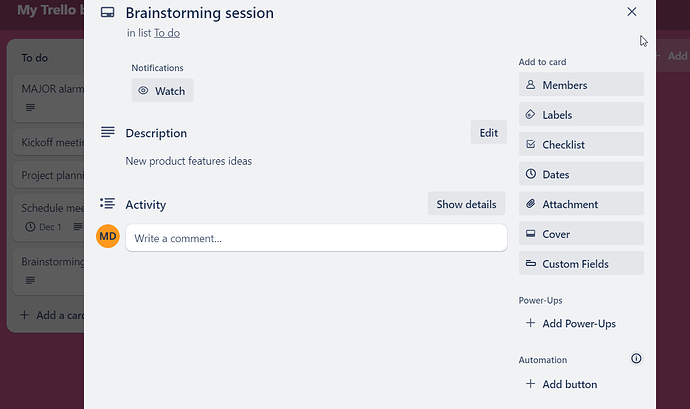
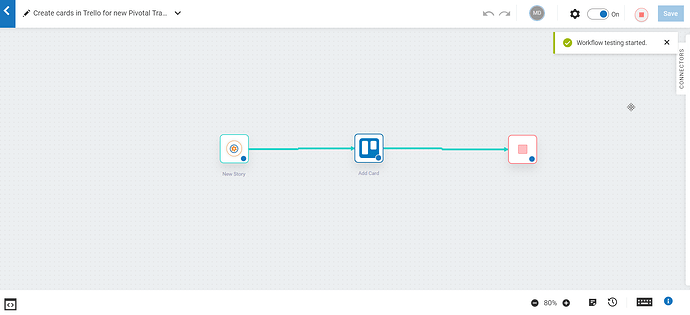 You can proceed with running the workflow using the play button in the right upper corner and review the result. If you have configured the workflow correctly, you should see the newly created card in your Trello board:
 Now every time a story is created in your Pivotal Tracker project, a new Trello card will be added to your project. Please note that this may take some time.
Create Pivotal Tracker stories from new Trello cards
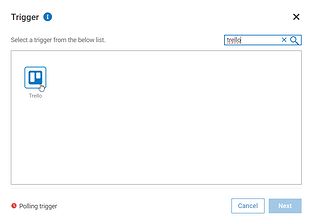
- Click on the small setting icon on the Start step and choose the Trello trigger.
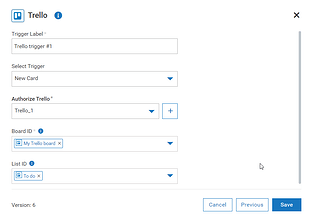 Select New card as a trigger and complete the authorization – connect webMethods.io Integration with your Trello account and chose the Board and List ID.
Click Save. You should see the test trigger window.
To test your trigger, you need to perform the trigger action. Open your Trello list ID and add a new card:
Select New card as a trigger and complete the authorization – connect webMethods.io Integration with your Trello account and chose the Board and List ID.
Click Save. You should see the test trigger window.
To test your trigger, you need to perform the trigger action. Open your Trello list ID and add a new card:
 Go back to the webMethods.io Integration workflow and click Test. You should see the output data (the card information) from the trigger which webMethods.io Integration will use to configure and test the rest of the workflow. Click Done.
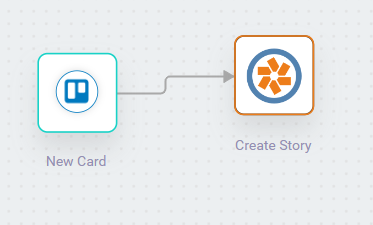
 - Search for the Pivotal Tracker connector and add it to the canvas with the drag and drop feature. This automatically connects with the trigger action.
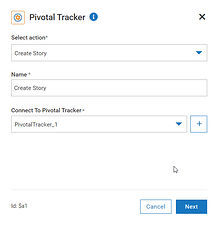
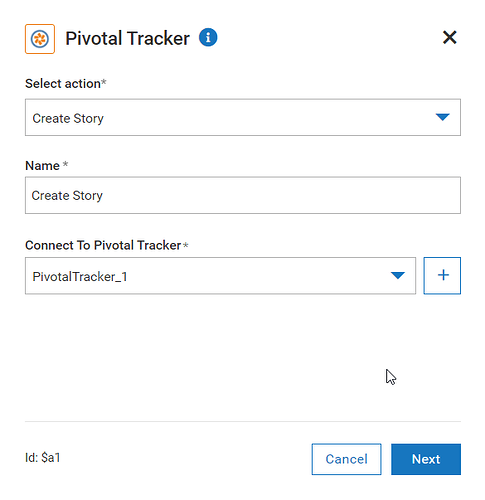
 Click on the small settings icon on the Pivotal Tracker connector, select Create story as action and complete the authorization – connect webMethods.io Integration with your Pivotal Tracker account.
 Click Next.
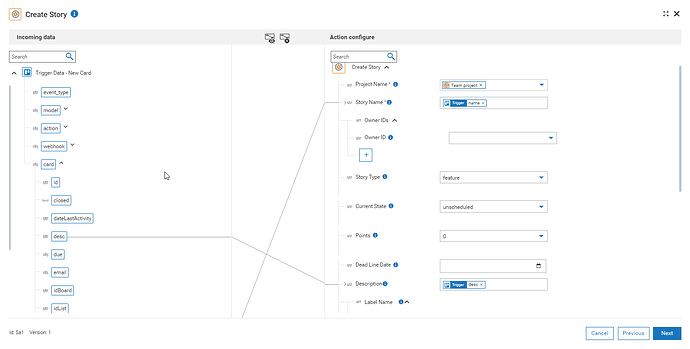
Now you can proceed with the action configuration – use the Incoming data panel to include card information received from the trigger output – drag and drop the card name in the Story name field, choose _Project nam_e and fill out the Description field:
Click Next.
Now you can proceed with the action configuration – use the Incoming data panel to include card information received from the trigger output – drag and drop the card name in the Story name field, choose _Project nam_e and fill out the Description field:
 Click Next and then Done.
 - Connect the Pivotal Tracker connector to the Stop step. Don’t forget to save your workflow.
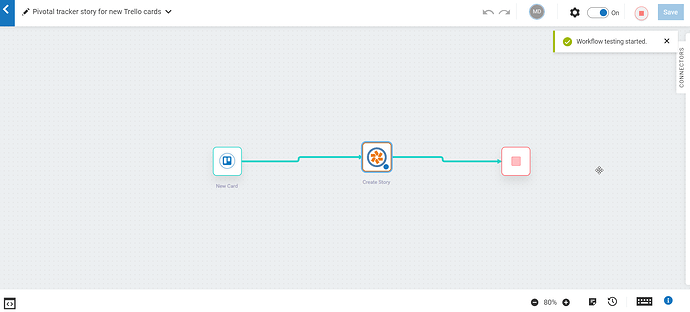 You can now run the workflow using the play button in the right upper corner and review the result. If you have configured the workflow correctly, you should see the newly created story in your Pivotal Tracker project:
 Now every time a card is added to your Trello board, a new Pivot Tracker story will be added to your project. Please note that this may take some time.
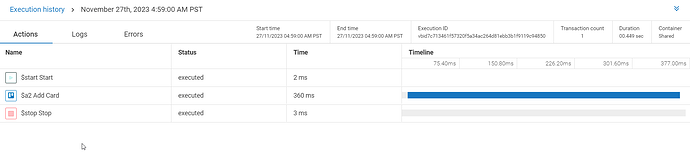
Execution history
At the bottom-left corner of the screen you can find the Execution history of the workflow:

From here you can monitor the execution status and view error details if needed:
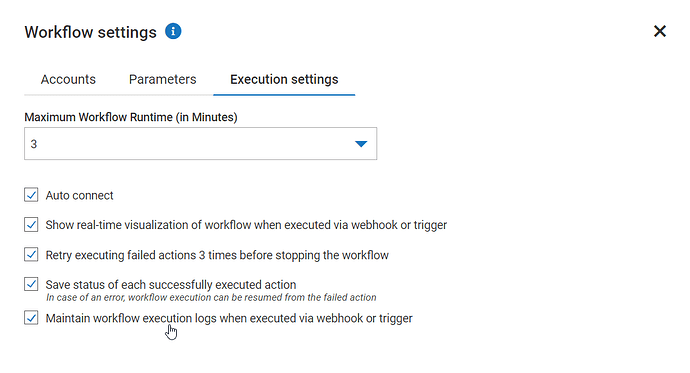
Please note that workflow execution logs must be enabled from the workflow execution settings:

Related articles
For more webMethods.io Integration workflow examples involving Trello, refer to the following articles:
- Automatically generate Trello cards from Slack/Cisco Webex Teams with webMethods.io Integration
- Integrate Trello with Asana using webMethods.io Integration
- Track Cumulocity IoT Device Alarms in Trello with webMethods.io Integration
- Integrate Trello with GitHub: Auto Card Creation with webMethods.io Integration Read full topic


